Integration Guide for Pulse Secure with GreenRADIUS 2FA
Before starting, ensure GreenRADIUS is configured correctly to communicate with the local Active Directory or LDAP domain, as well as with the validation service (either local validation or the YubiCloud).
Configuring GreenRADIUS for Pulse Secure
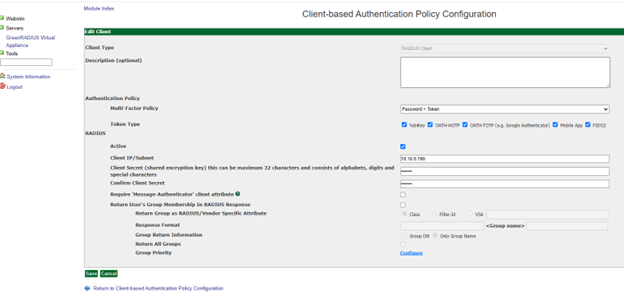
In the GreenRADIUS web admin interface, add Pulse Secure as a RADIUS client.
- Click the Global Configuration tab
- Click the Client-based Authentication Policies icon
- Enter the IP address of Pulse Secure. Then enter the same RADIUS secret twice. Then click the Add button.
Pulse Secure Configuration
Add GreenRADIUS as a RADIUS Server
Befotre starting, ensure that network, interfaces, and client profiles are configured correctly.
- Log into the Pulse Secure Administrator Sign-In Page.
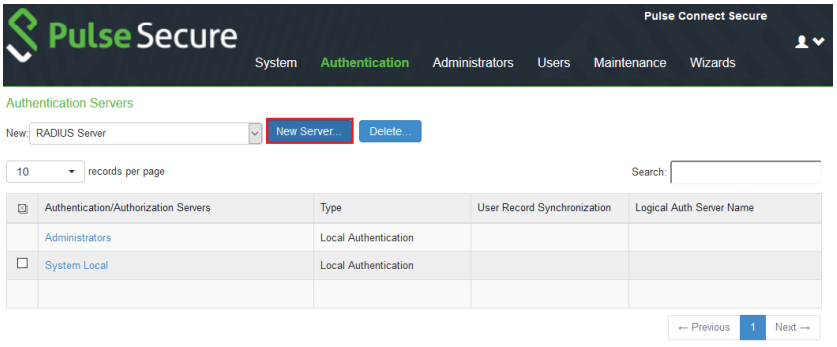
- Open the "Authentication" tab and select "Auth. Servers."
- Locate "RADIUS Server" and choose "New Server..."
- Configure the following fields
- Name: GreenRADIUS
- RADIUS Server: your_greenradius_ip
- Authentication Port: 1812
- Shared Secret: The same Client Secret configured under RADIUS Clients in GreenRADIUS
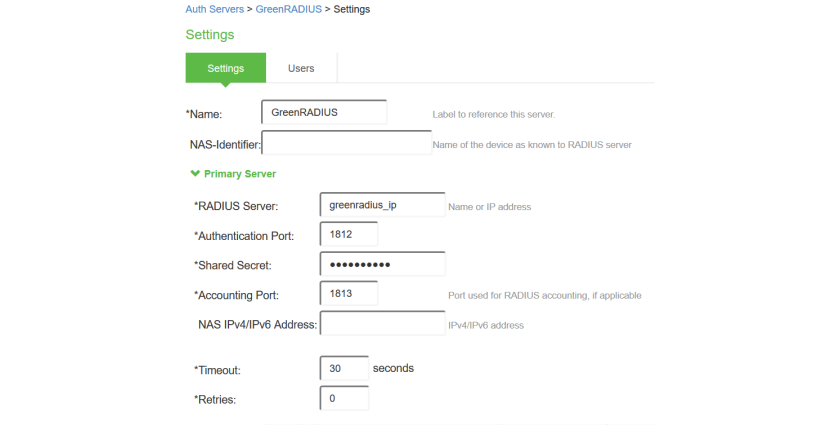
- Click "Save Changes" at the bottom
- Navigate to Users> User Realms
- Select your Authentication Realm (default "Users").
- Change the authentication server to GreenRADIUS or add an Additional Authentication Server.
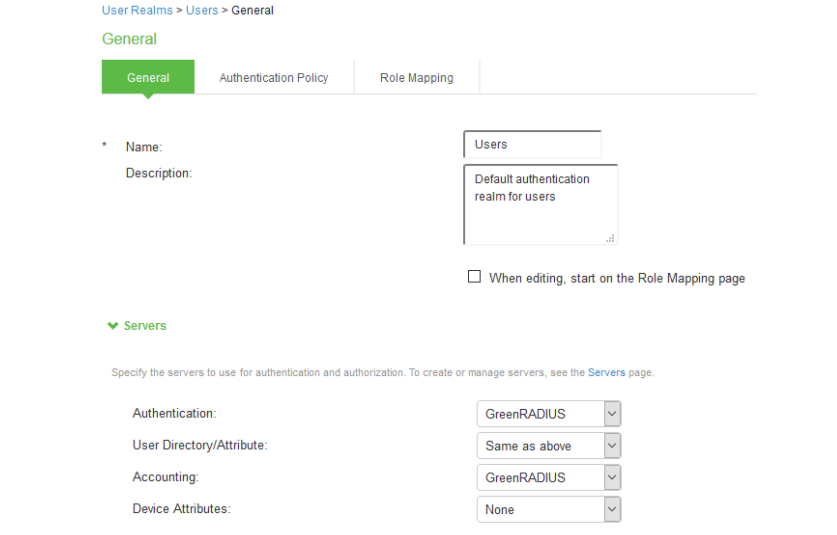
- Choose "Save Changes."
Pulse Secure Prompt for Token (Optional)
By default, users submit their token OTPs (one-time passcodes) by appending them to their passwords in the password field. If desired, a separate OTP field can be used to submit OTPs instead of appending them to passwords. To configure this, follow the steps below.
- Enable "Prompt For OTP (RADIUS only)" in GreenRADIUS in the Global Configuration tab > General
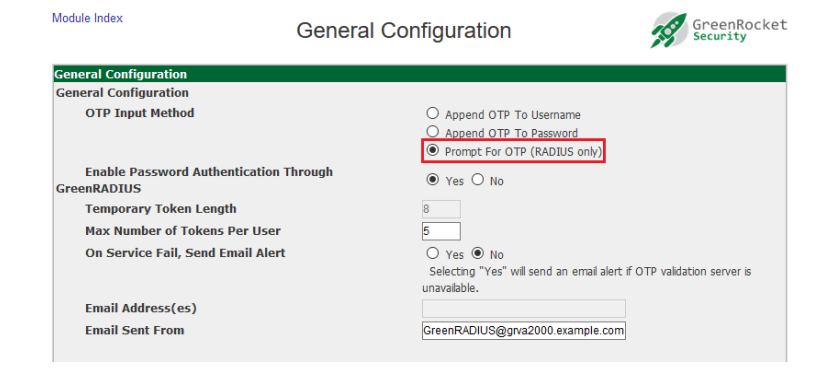
- Choose "Save."
- In Pulse Secure, navigate to Authentication > Auth. Servers
- Open GreenRADIUS server settings
- Create a new custom RADIUS rule
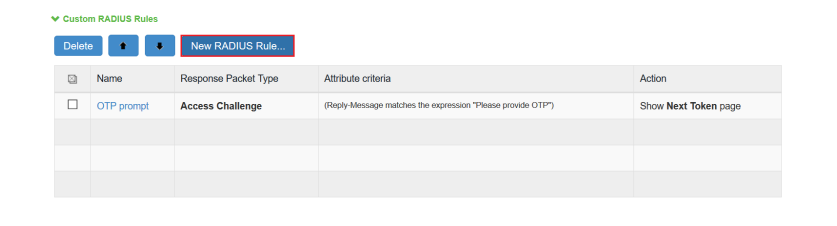
- Configure the following fields: Name: OTP prompt Reply-Message(18) > matches the expression > Please provide OTP > choose Add Then take action > show Next Token page
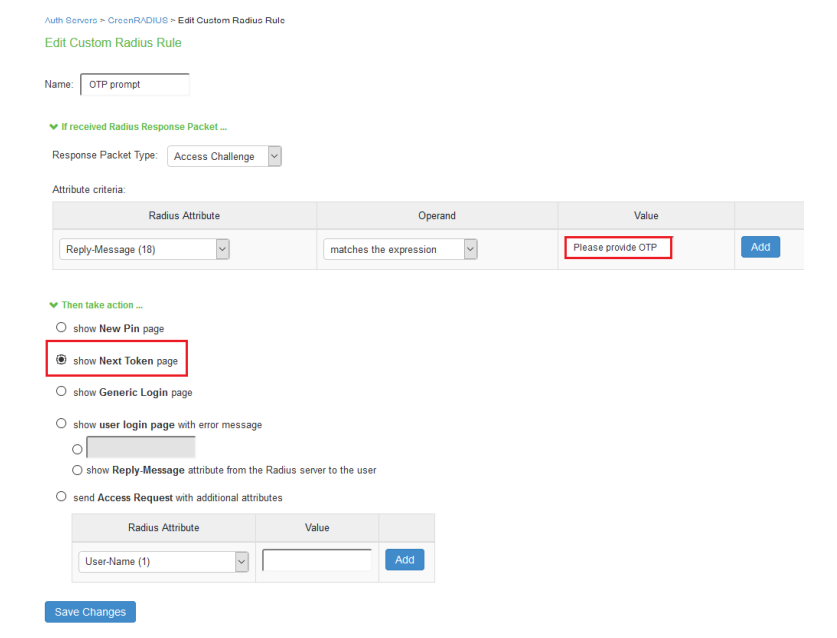
- Click "Save Changes"
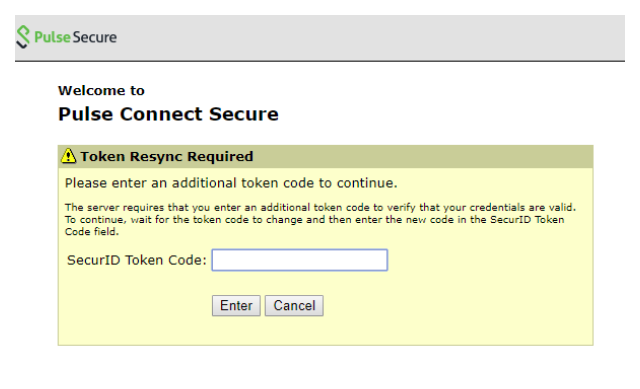
A dedicated token page will appear after the usual user login:
Updated 2025-10-30
© 2026 Green Rocket Security Inc. All rights reserved.
© 2026 Green Rocket Security Inc. All rights reserved.