Setting Up GreenRADIUS in Hyper-V

Prequisites

  • Windows machine on which Hyper-V is installed
  • GreenRADIUS OVA file (download it from here)
  • Microsoft Virtual Machine Converter 3.0 installed (download it from here)
  • Software to uncompress such as 7-Zip or WinZip

Steps

  1. Log in to the Windows machine, and extract the GreenRADIUS OVA file using software to uncompress such as 7-Zip or WinZip to a folder (e.g. D:\GreenRADIUS Virtual Appliance)
  2. It should create 'GreenRADIUS_Virtual_Appliance.vmdk' (e.g. GreenRADIUS_Virtual_Appliance_v4.1.11.11.vmdk) file in that folder. Note the path of vmdk file
  3. Open powershell using administrative access and run the following commands: # Import-Module "C:\Program Files\Microsoft Virtual Machine Converter\MvmcCmdlet.psd1"
  • Convert the GreenRADIUS VMDK file (extracted in above steps) to Hyper-V file (i.e. VHDX) using the following command, and note the path of the output VHDX file: (e.g. in the following command, the vmdk file used is 'D:\GreenRADIUS Virtual Appliance\GreenRADIUS_Virtual_Appliance.v4.1.11.11.vmdk' and the output file is specified as 'D:\Demo\GreenRADIUS_Virtual_Appliance.vhdx' # ConvertTo-MvmcVirtualHardDisk -SourceLiteralPath/"D:\GreenRADIUS Virtual Appliance\GreenRADIUS_Virtual_Appliance_V4.1.11.11.-disk1.vmdk" -DestinationLiteralPath "D:\Demo\GreenRADIUS_Virtual_Appliance.vhdx" -VhdTypeDynamicHardDisk -VhdFormat Vhdx
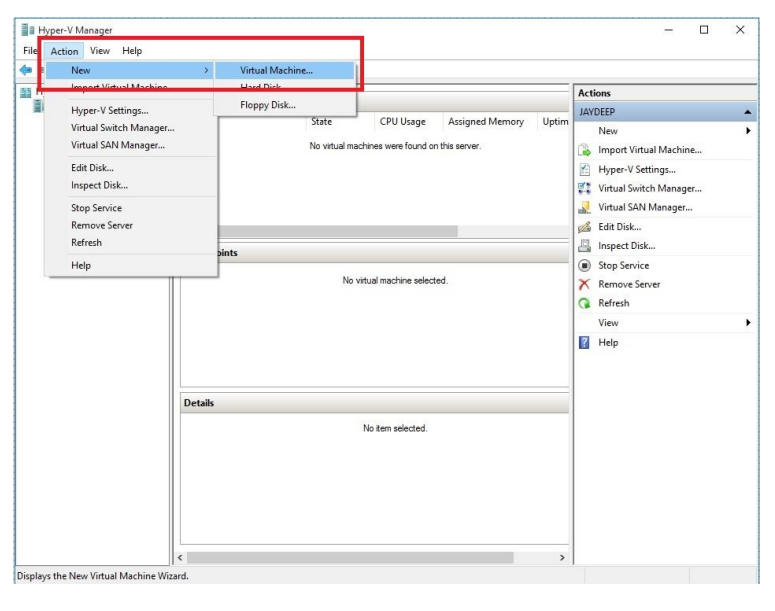
  1. Open 'Hyper-V Manager' console, select Action tab, click on New and select Virtual Machine as shown in the screenshot given below: RADIUS Client Configuration

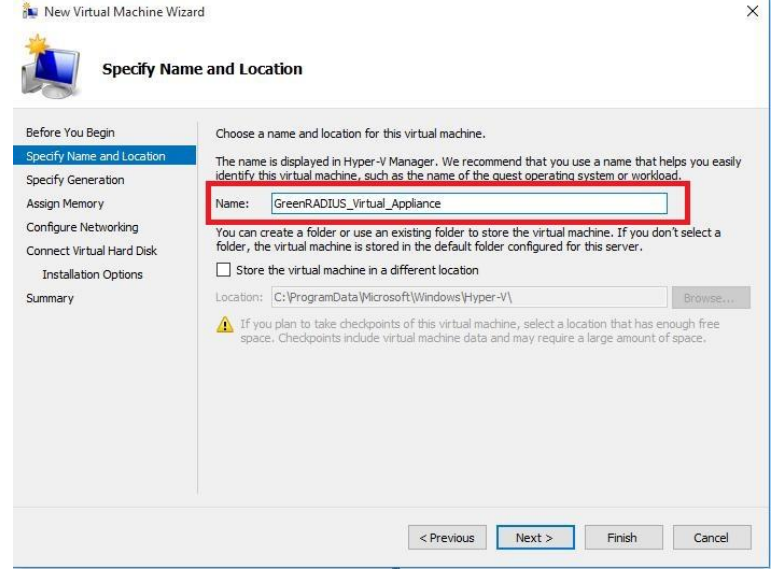
  2. In New Virtual Machine Wizard, specify Name and Location and click on Next RADIUS Client Configuration

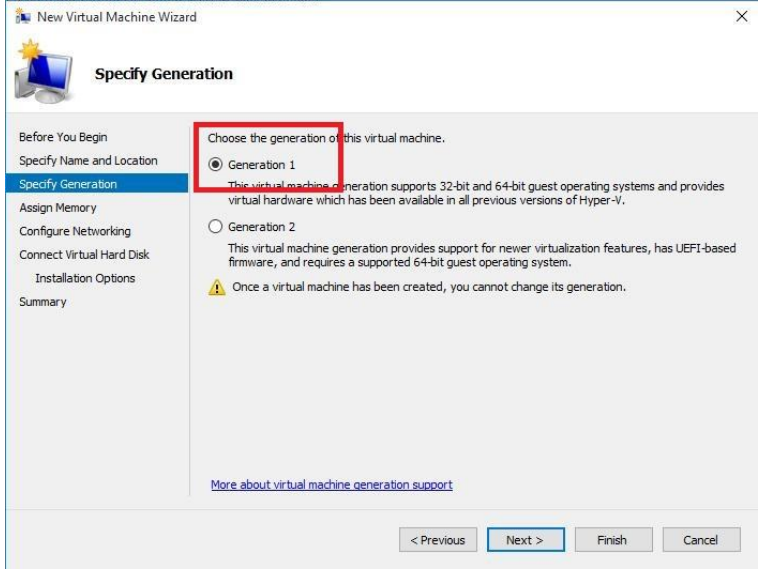
  3. Select Generation 1 and click on Next RADIUS Client Configuration

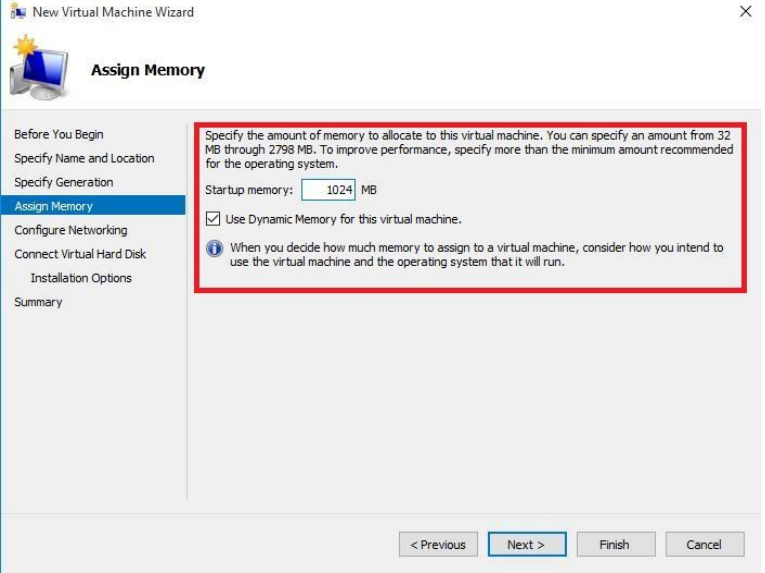
  4. Specify RAM for MB for Startup Memory and click on Next RADIUS Client Configuration

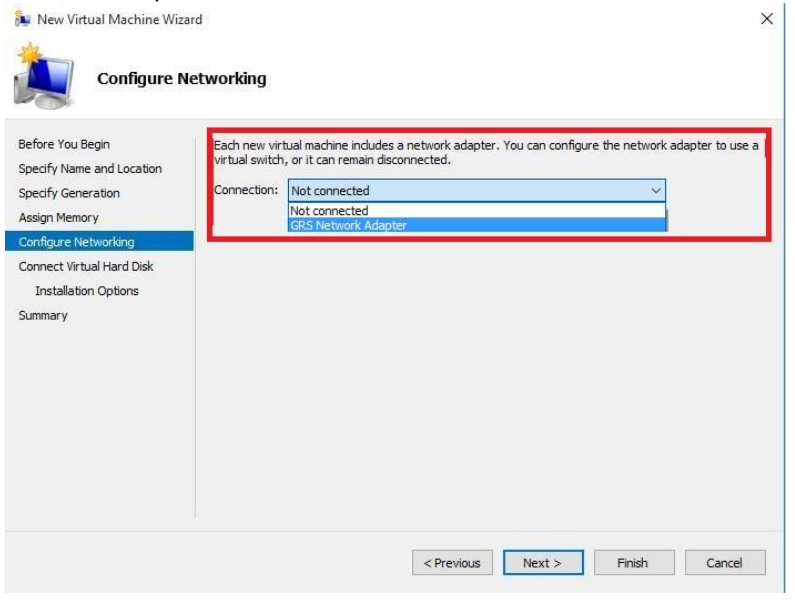
  5. Select Network Adapter and click on Next RADIUS Client Configuration

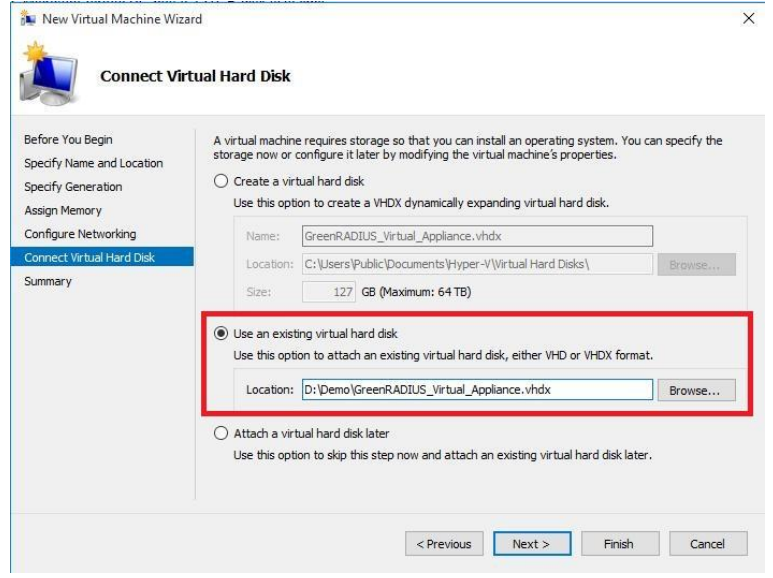
  6. Select Use an existing virtual hard disk and provide the path of the vhdx file noted in step 3 RADIUS Client Configuration

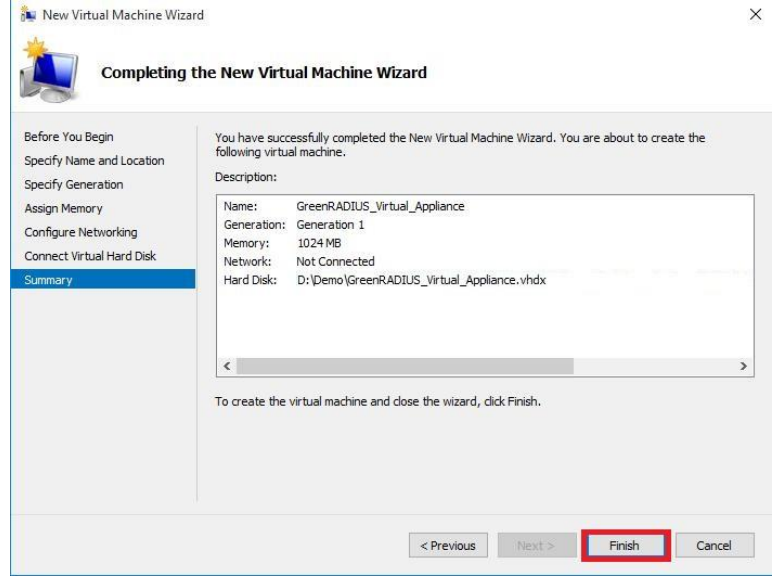
  7. Review the settings and click on Finish RADIUS Client Configuration

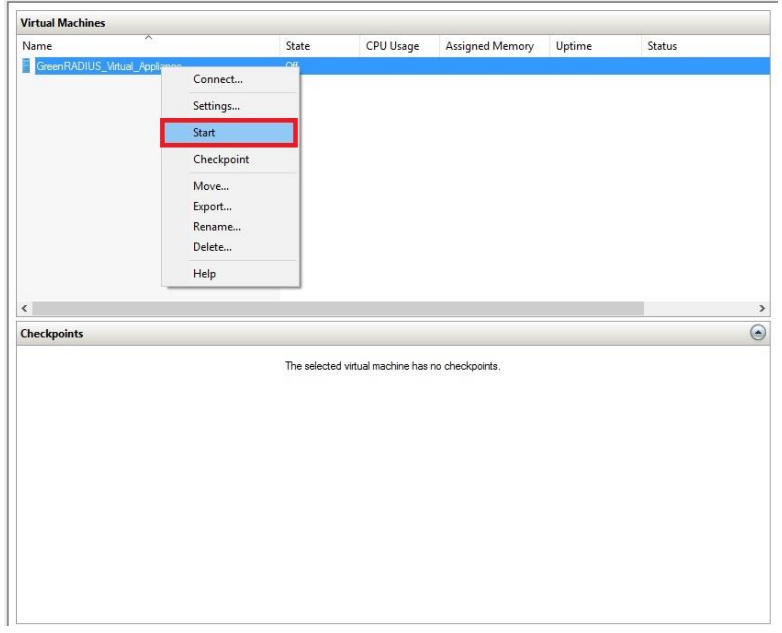
  8. Under Virtual Machines, right click on newly created virtual machine and click on Start RADIUS Client Configuration

  9. You should see the GreenRADIUS virtual appliance console window RADIUS Client Configuration

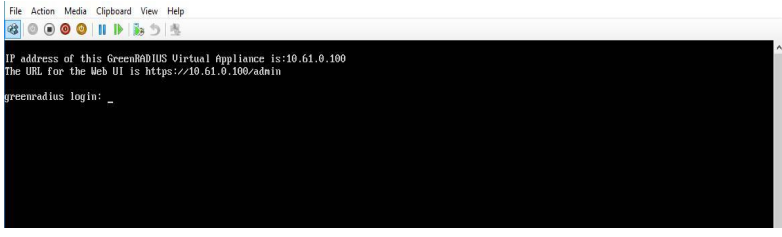
  10. Log in to the GreenRADIUS web admin console any web browser and using following link: https:///admin

Web Analytics Made Easy -
StatCounter

Updated 2025-11-08
© 2025 Green Rocket Security Inc. All rights reserved.